The short version
Paste a publicly accessible product URL or upload one photo. Explore before-and-after examples while your square Studio photo, square Lifestyle photo and vertical Social creative develop. Download the watermarked previews or continue with the same product in Studio.
1. Start with the product material you already have
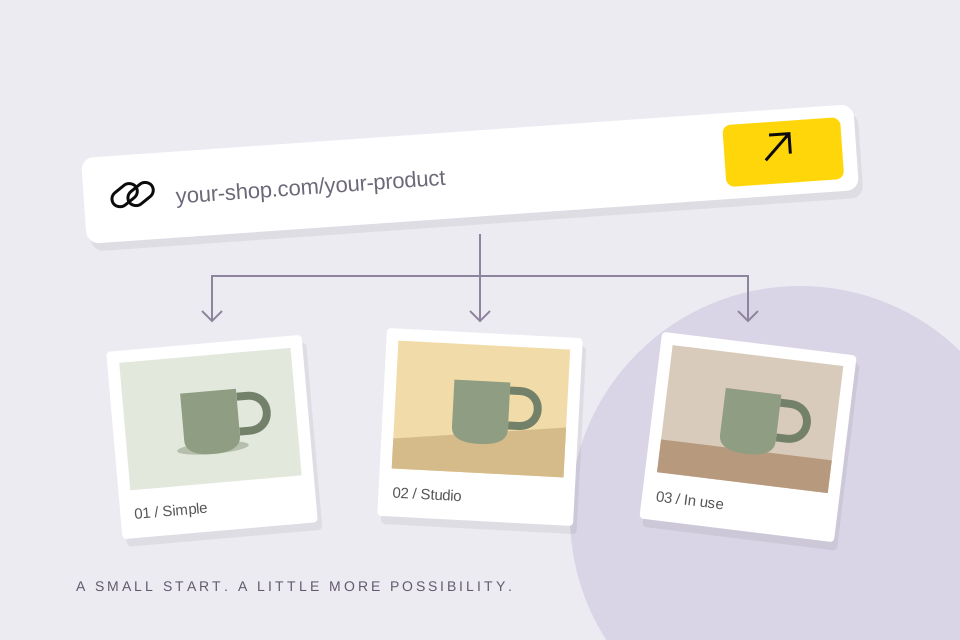
If your product is already listed online, copy the URL of its specific product-detail page and paste it into extra.pics. A public page with a clear product name, a resolved variant, and usable gallery photos gives the workflow a better starting point than a category page or a store homepage.
If you do not have a product page, use the photo-upload option. Start with a clear photograph of one product. A source that makes the item’s shape, color, and important features visible gives you a better basis for reviewing what comes back.
Product-page access depends on the store. Pages behind a login, browser challenge, or region restriction may not work. When a page does not clearly identify the product or variant, the workflow can stop instead of guessing.
2. Let the studio find its starting references
For a URL submission, extra.pics reads the page and looks for product details and existing photos. The studio shows the source references as they become available. For an upload, your selected photo supplies the reference material.
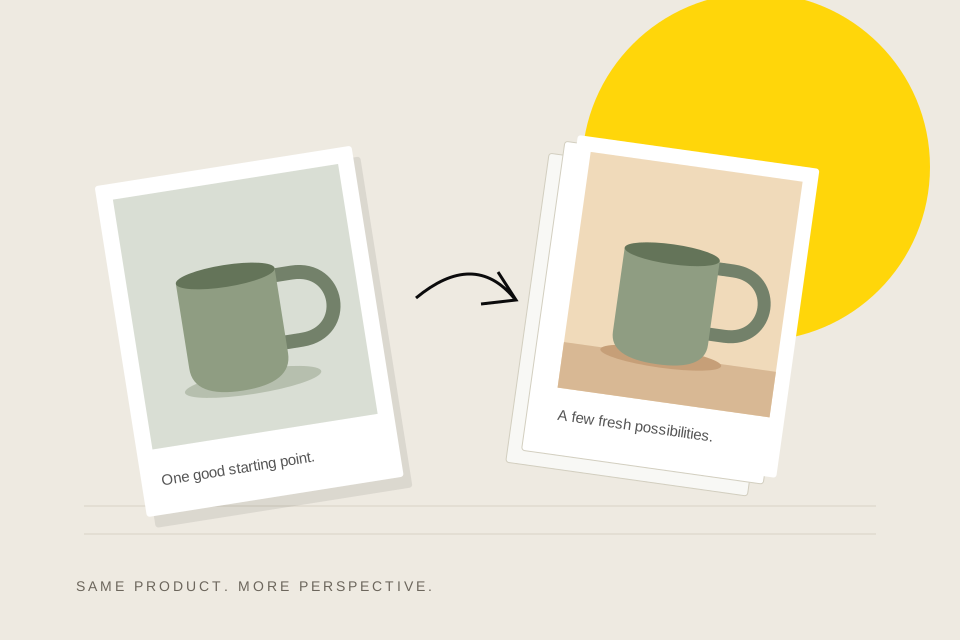
Your product details and actual reference images guide the scene planning. You do not need to provide a prompt, assemble a mood board, or write a separate brief for each scene. While the studio works, compare before-and-after examples and explore what each image type can do.
3. Review three genuinely different scene roles
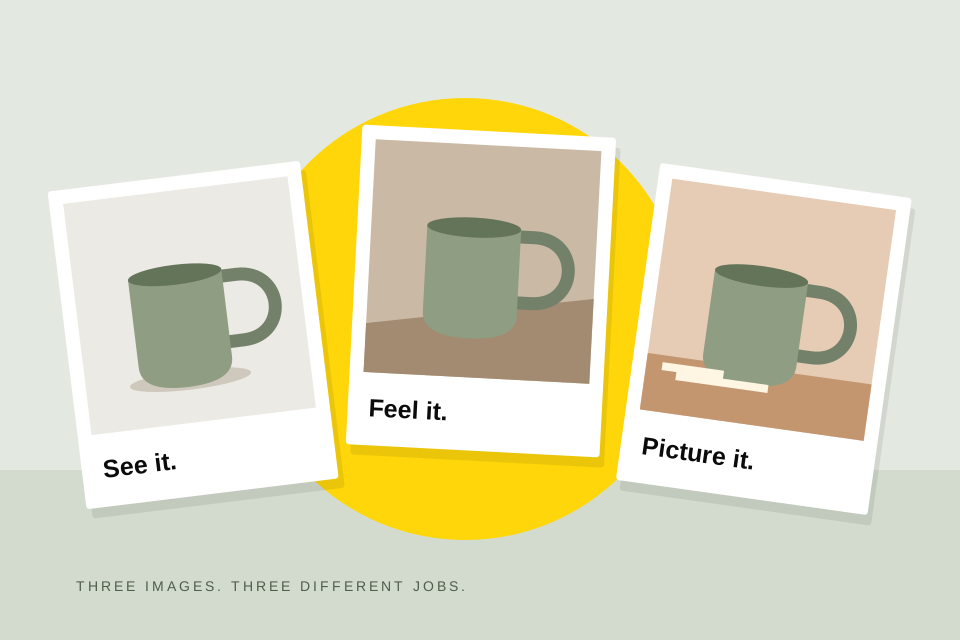
The free set contains one square Studio photo, one square Lifestyle photo and one vertical Social creative. The reveal puts Studio on the left, Social in the middle and Lifestyle on the right, so you can see all three together.
Images are generated independently, and the loading view reports their actual progress. When generation finishes, your set appears together. If one scene cannot complete, any successful images remain available; not every submission will produce all three.
Once results arrive, compare them with the actual product. Check logos, proportions, color, material, and distinctive features. Keep images that tell a useful story without introducing details the item does not have.
4. Save the previews you want to keep
You can open and download the finished previews. The free preview files include an extra.pics watermark. There is no account or payment card required for the current free experience.
Keep the result link to revisit the session in the same browser, and download the images you want within 24 hours after it finishes. A refresh restores the session rather than starting another generation. Free results are bound to your browser session; the link alone does not grant someone else access.
5. Take your product into Studio
Choose Continue in Studio to keep the same product and claim your previews after signing in with Google or Facebook. Your product references come with you, so there is no need to upload everything again.
In Studio, choose Studio, Lifestyle and Social image counts, select square, vertical or landscape formats, and add your own creative direction. Paid generation uses 10 credits per image and includes full-size, watermark-free downloads. Once payment is confirmed, your saved free previews also unlock without watermarks, with no additional credits required.
That is the larger idea in miniature: start with something you already have, then give it another useful way to show up. A new gallery scene today. A fresh campaign direction next.
A little extra. A lot more possibility.
Make your extra pics